Plan your artwork sizes for matting.
A good tip for artists wanting to save a bit of money on framing costs: planning your artwork sizes and margins eliminates matting issues for clients who may buy your artwork. It doesn’t take long and will save money when the need to mat or frame your artwork arises. This is particularly true for artists who create daily paintings on paper and wishes to mat/back/bag them for sale after the work is complete.

Planning artwork matting! 9”x12” vs 8”x10”
I will give two example price outcomes in this post; one will be an already completed artwork which fits into a 9″x12″ mat, and the other is a planned artwork which will fit into an 8″x10″ mat. The price difference to frame these works is approximately $15, which can add up if an artist is planning on creating a large amount of work.

Carousel Study by Ljubica Todorovic, Oil on Arches Oil Paper 6"x9" 2017
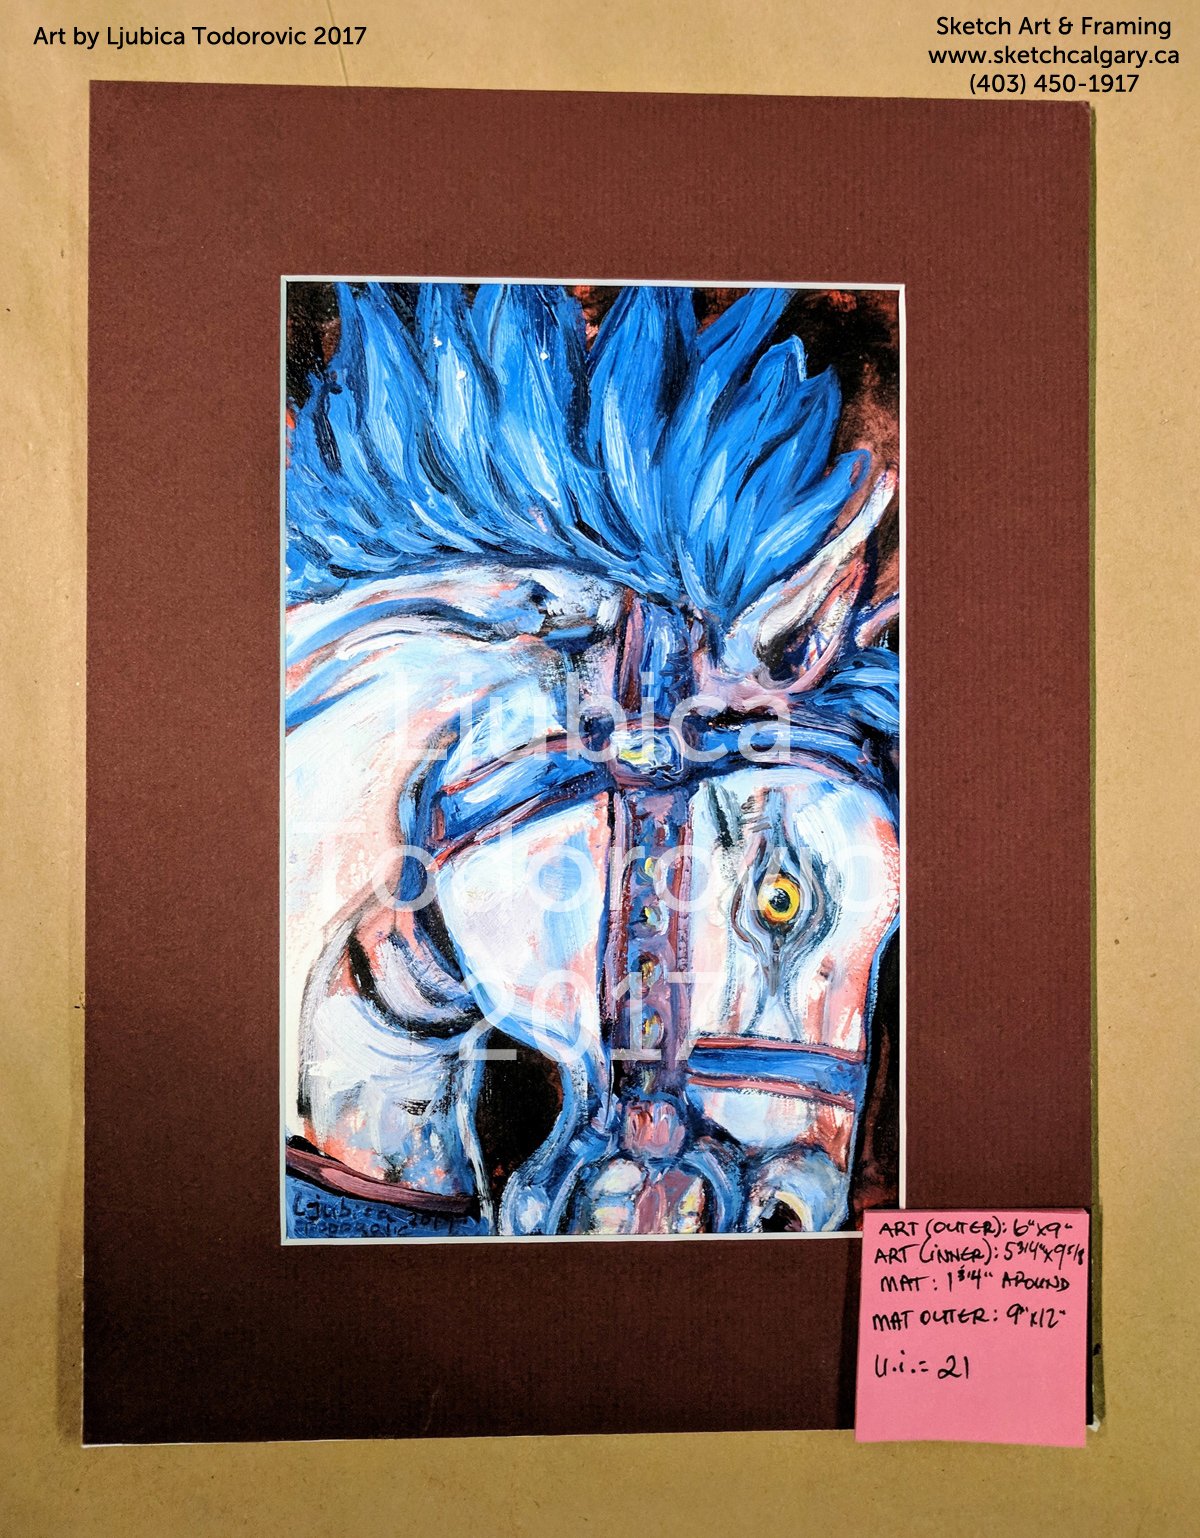
Carousel horse by Ljubica Todorovic, matted in Crescent Select C9840 "Plum", to 9"x12" outer dimension.
Work #1 is a 6″x9″ oil painting on Arches Oil Paper. When you want to get the most out of a 9″x12″ pad, that is the size to go with typically. I cut the sheet into two equal chunks and end up with two 6″x9″ pieces.
It is a landscape/panorama ratio which will result in a 1 3/4″ mat border and a 9″x12″ outer mat size for each 6″x9″ piece. Your border may be larger or smaller due to the way you have painted it and how much room was left around the painting. I covered my painting with the mat approx 3/8″. This will cost someone anywhere from $65 and up to frame.

Blank 6"x8" paper with a 8"x10" mat, ready to be turned into art.
Work #2 is a 6″x8″ blank paper ready for some art. Again, this was the result of cutting a 9″x12″ piece of paper into two equal parts except this time it was trimmed by an inch. It is more of a portrait ratio and will result in a 1 1/2″ mat border with an 8″x10″ outer mat size for each 6″x8″ piece. I will try my best to keep all of the important parts of the art within the border – especially my signature. This will cost someone approximately $50 and up.
So, there you have it; One 9″x12″ piece of paper, cut into two; one has a bit of scrap paper left over but will save you about $15 in framing costs. Pros: Save money, Cons: Landscape/Panorama ratio eliminated.

Lineco photo corners.
I like to use Lineco clear photo corners to secure my work to the backing board. Typically you need to leave 1/4″ allowance around your work so that the mat covers the corners up. You can make a t-hinge out of tape or rice paper too, but I have been using photo corners lately because they are relatively easy to use, archival and a snap to re-adjust.
So, fellow artists, if you plan your sizes before you paint, you will have an easier time with matting and framing your work afterwards. Sometimes spontaneity takes over planning, which is great for your creativity… but, it may cost more to mat and frame the artwork after. Of course, this is just one method in all the art madness and it is the one I prefer – for now. Some artists like to float mount their art because they paint to the edge, and that is good too.
I am always searching for new ways to make art and frame it, so hopefully someone out there will find my post helpful, just as I have found information out there to help me along my way!
Ljubica Todorovic / Sketch Art & Framing
www.sketchcalgary.ca
(403) 450-1917
Originally written on SEPTEMBER 7, 2017